A Step-by-Step Guide to Hardwood Floor Installation

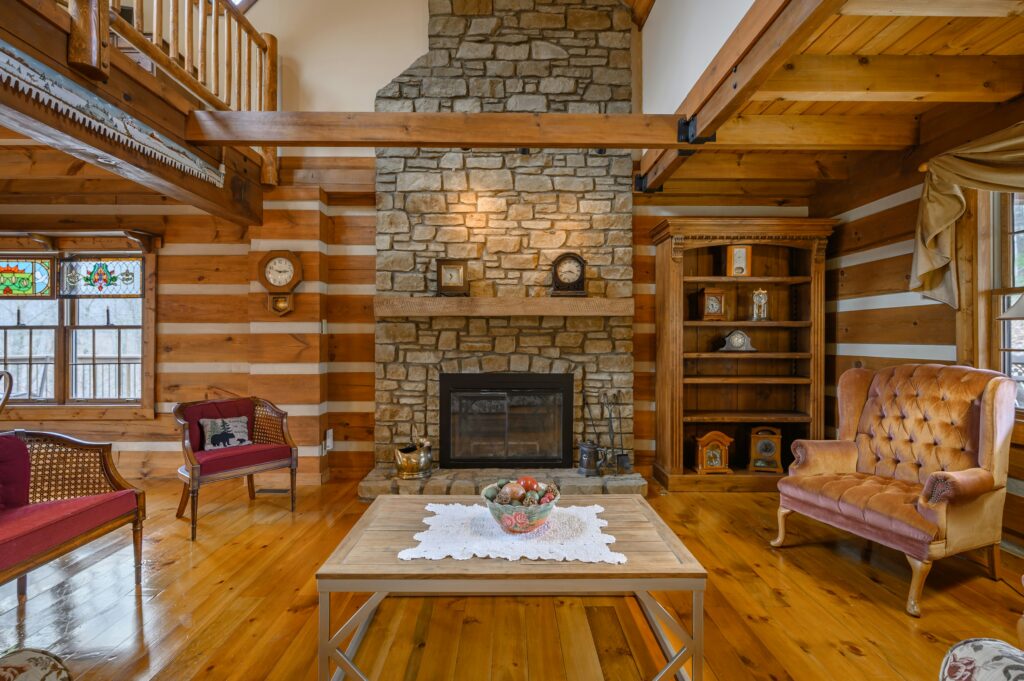
If you’ve been dreaming about the warm, timeless look of hardwood floors, you’re not alone. Hardwood floors can completely transform a room, adding charm, elegance, and that undeniable feeling of quality. But let’s be honest: the idea of hardwood floor installation can feel a bit intimidating. Whether you’re tackling it yourself or hiring a pro, knowing what to expect can make the process so much smoother.
So, let’s break it down. From preparation to the final touches, here’s everything you need to know about installing hardwood floors like a pro.
1. Choosing the Right Hardwood
Before you even think about laying down a single plank, you’ll need to decide on the type of wood you want. There’s solid hardwood, which is exactly what it sounds like, and engineered hardwood, which has a layered construction that makes it more stable in certain conditions.
- Solid Hardwood: Perfect for spaces with controlled humidity, like bedrooms or living rooms. It can be sanded and refinished multiple times, which means it’ll last for decades.
- Engineered Hardwood: This is your go-to for areas with fluctuating moisture levels, like basements or kitchens. It’s still real wood but less prone to warping or shrinking.
And don’t forget about the species. Oak, maple, hickory—each has its own look and feel. Do you want something light and airy or rich and dramatic? This decision sets the tone for the entire project.
2. Prepping the Space
Here’s the deal: hardwood floors need a solid, clean, and level foundation. Skipping prep work can lead to squeaky floors or gaps down the road, and nobody wants that.
- Clear the Room: Move all furniture and make sure the subfloor is exposed. If you’re replacing old flooring, now’s the time to rip it out.
- Check the Subfloor: Is it level? Dry? Clean? These are non-negotiables. If you’re installing over concrete, you’ll need a moisture barrier to keep water from seeping into the wood.
- Let the Wood Acclimate: Hardwood needs time to adjust to the humidity in your home. Leave the planks in the room for at least 48 hours before installation.
3. Tools You’ll Need
If you’re going the DIY route, having the right tools is half the battle. Here’s what you’ll need:
- Tape measure
- Chalk line
- Rubber mallet
- Pry bar
- Nail gun or staple gun
- Circular saw or miter saw
Don’t skimp on the tools—it’s worth investing in good-quality equipment to avoid headaches later.
4. Laying the First Row
Now for the fun part: laying the hardwood floor! Starting correctly is key because that first row sets the tone for the entire installation.
- Start Along the Longest Wall: Typically, you’ll want the planks to run parallel to the longest wall in the room. This creates a sense of flow and makes the space look bigger.
- Leave a Gap: Wood expands and contracts with changes in humidity, so leave a small gap (about 3/8 inch) between the planks and the wall. You’ll cover it with baseboards later.
Use a chalk line to ensure your first row is perfectly straight. Trust me, it’s worth taking the time to get this right.
5. Staggering Planks for a Natural Look
Nobody wants their floor to look like a wooden checkerboard. To keep things looking natural, stagger the joints between planks. This means starting each new row with a plank of a different length.
- Why Stagger? It strengthens the floor and gives it a more polished, professional look.
- Pro Tip: Avoid repeating patterns. The more random it looks, the better.
6. Securing the Planks
The method you use to secure the planks depends on the type of hardwood you’ve chosen.
- Nail-Down Method: A classic choice for solid hardwood. You’ll use a nail gun to secure the planks to the subfloor.
- Glue-Down Method: Often used for engineered hardwood, especially over concrete. Be prepared for some messy moments!
- Floating Method: Perfect for DIYers, this involves locking the planks together without nails or glue. It’s a good choice for engineered wood or prefinished planks.
7. The Final Touches
You’re almost there! Once all the planks are in place, it’s time to finish the job.
- Install Baseboards and Trim: These cover the expansion gap you left at the edges of the room.
- Clean the Floor: Use a soft broom or vacuum to remove any dust or debris.
- Enjoy Your New Space: There’s nothing like the feeling of stepping onto a freshly installed hardwood floor. Take a moment to appreciate your hard work (or the work of your installer).
FAQs About Hardwood Floor Installation
How Long Does It Take?
For an average-sized room, professional installation usually takes 1–3 days. DIY projects can take a little longer, depending on your experience level.
Can I Install Hardwood Over Tile or Carpet?
You’ll need to remove carpet completely, but you can install hardwood over tile as long as it’s flat and secure. Just add an underlayment for extra stability.
What’s the Cost of Installing Hardwood Floors?
Professional installation typically costs $6–$12 per square foot, including materials. DIY costs will depend on the tools and materials you need to buy or rent.
Final Thoughts
Installing hardwood floors is a rewarding project that can completely transform your space. Whether you’re hiring a professional or rolling up your sleeves for a DIY job, preparation and attention to detail are key. With the right tools, a solid plan, and a little patience, you’ll end up with a floor that’s as beautiful as it is durable.
So go ahead, take that first step, and get ready to fall in love with your new hardwood floors.
For more information visit Where Not to Install Hardwood Floors? | Robar Flooring
