
Secure Stone Placement: Techniques for Long-Lasting, Beautiful Installs
Learn secure stone placement techniques for flawless installs. Explore step-by-step stone installation, DIY stone installation tips, and professional stonework advice.
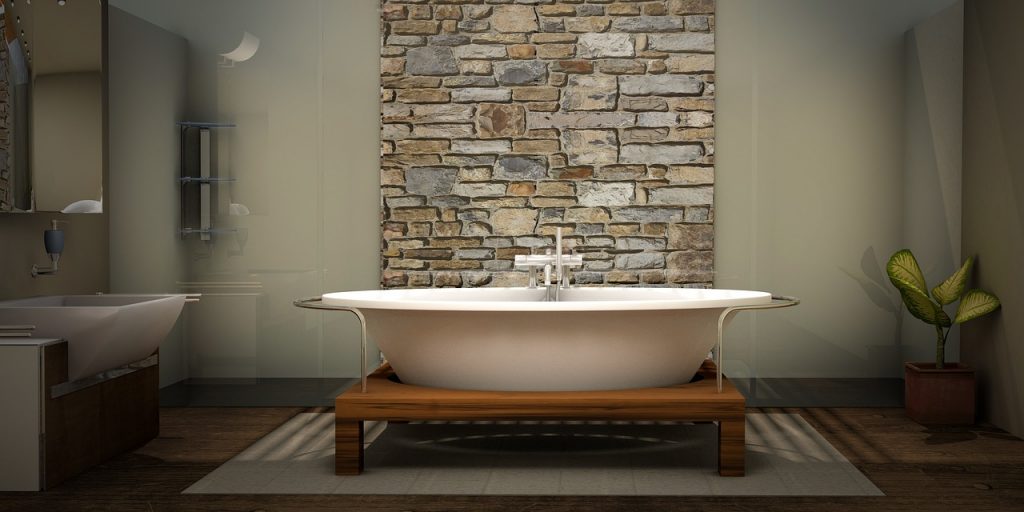
Nothing beats the feeling of standing back after a stone installation project and seeing a wall that feels solid, stunning, and permanent. But behind every beautiful stone feature lies something most people don’t think about: secure stone placement.
Whether you’re tackling a DIY stone installation for the first time or aiming for professional stonework results, getting that step-by-step stone installation right matters. A lot. It’s the difference between a masterpiece that lasts for decades and one that starts slipping, cracking, or sagging way too soon.
If you want a stone wall that stands the test of time (and gravity), this guide’s got your back.
Why Secure Stone Placement Is So Important
Stone veneer is heavy. Even lightweight decorative stone veneers need strong, consistent support to stay put.
Secure stone placement isn’t just about preventing disaster later — it’s also about creating that smooth, professional stonework look you’ve been dreaming about. It keeps your lines straight, your patterns consistent, and your textures popping in all the right ways.
Plus, if you’re following installation guides or stone veneer manuals, secure stone placement is baked into every step. Skip it, and you’re risking a lot more than just aesthetics.
What Makes Stone Mounting Techniques “Secure”?
At its core, secure stone placement comes down to a few basics:
- Proper surface prep
- Correct adhesive or mortar use
- Good mechanical attachment when needed
- Consistent leveling and alignment
- Allowing time for materials to cure fully
It’s not magic. It’s just methodical, careful work — and a little patience.
Step-by-Step Stone Installation for Flawless Results
Let’s walk through the major points you need to hit.
1. Surface Preparation
If your surface isn’t ready, your stones won’t stay put. Period.
Follow your installation guides carefully. Some surfaces need a scratch coat. Others need a vapor barrier. Some can handle DIY stone installation straight onto drywall (especially indoors with indoor stone panels), while others demand a cement backer board.
Your wall should be clean, dry, solid, and (this is important) properly primed if needed.
2. Adhesive or Mortar Matters
Stone veneer manuals are very particular about adhesive and mortar. And for good reason.
Use a high-quality, stone-appropriate adhesive if you’re working with pre-formed panels indoors. If you’re doing a bigger, heavier outdoor installation or using loose stone pieces, mortar is usually your best bet.
Apply enough — but not too much. You want full coverage on the back of the stone without squeezing globs out the sides when you press it in.
3. Start from the Bottom
Gravity isn’t just a rule; it’s your helper.
Always start your stone installation from the bottom of your wall and work upward. Let lower stones support the weight of those above. That way, you’re not fighting against physics — you’re working with it.
Use a level and chalk line to keep yourself honest every few rows. Even small deviations can grow over time if you’re not checking.
4. Secure Corners First
If you’re using corner pieces, install them first.
They anchor the edges of your wall visually and physically. Plus, it’s way easier to blend the straight pieces afterward than try to patch corners in awkwardly at the end.
5. Wiggle and Press
When mounting your stone, press firmly and give it a tiny wiggle as you set it. This helps embed the stone into the adhesive or mortar, pushing out air bubbles and locking it into place.
Secure stone placement isn’t about “sticking” stones on the wall — it’s about embedding them into a base that will hold tight for years.
6. Allow Proper Curing Time
Patience here is key.
Depending on your product and climate, curing can take anywhere from 24 to 72 hours. Resist the urge to grout, seal, or mess with the stone until the adhesive or mortar is fully set.
In stone installation, slow and steady wins every single time.
Common Secure Stone Placement Mistakes to Avoid
Even beginner stone veneer setups can look professional if you steer clear of these pitfalls:
- Skipping surface prep: Nothing sticks to dirty, flaky, or unstable walls.
- Inconsistent adhesive/mortar coverage: Big gaps mean loose stones later.
- Over-troweling: Too little adhesive, and stones slide or fall.
- Poor layout planning: Lining up seams or stacking pieces awkwardly looks amateur and weakens the structure.
- Rushing the curing process: Touching or cleaning too soon can shift stones and mess up alignment.
DIY Stone Installation vs. Professional Stonework: Secure Placement
Professional installers spend years mastering secure stone placement. But that doesn’t mean beginners can’t do a killer job.
The difference comes down to:
- Time and attention to detail
- Strictly following installation guides and stone veneer manuals
- Checking every row for level and alignment
- Taking extra care with edges and tricky cuts
If you’re willing to move slowly and carefully, you can absolutely achieve professional stonework quality as a DIYer.
A Few Extra Pro Tips
- Mix pieces from multiple boxes to blend colors and textures naturally.
- Work in small sections so your adhesive doesn’t dry out before you’re ready.
- Step back often to view the wall as a whole.
- Keep your tools clean — gunky trowels make for sloppy adhesive application.
Building Walls That Feel Real
Stone is one of the most ancient, elemental building materials we have. It deserves respect.
Whether you’re installing a cozy indoor feature wall or wrapping an outdoor kitchen, following smart stone mounting techniques ensures your project doesn’t just look good — it feels authentic. Solid. Permanent.
With the right step-by-step stone installation practices, even a first-time DIYer can create stylish, secure stone placement that looks and feels incredible for years to come.
All it takes is a little know-how, a little patience, and a whole lot of heart.
For anyone ready to tackle their stone installation with confidence, Canyon Stone Canada and Stone Selex offer premium decorative stone veneers, expert stone veneer manuals, and detailed installation guides to ensure secure stone placement and professional stonework results every time.
https://canyonstonecanada.com/Installation/Manuals
https://stoneselex.com/brick-and-stone/Dry-Stack-Stone-0615
https://canyonstonecanada.com/rockstone/rockwalls/Rocky-Ledge