
Stone Veneer Installation Tips: Achieving Durable Stone Finishes That Last
Learn stone veneer installation tips to achieve durable stone finishes that last. Discover how natural stone cladding transforms spaces with lasting beauty.
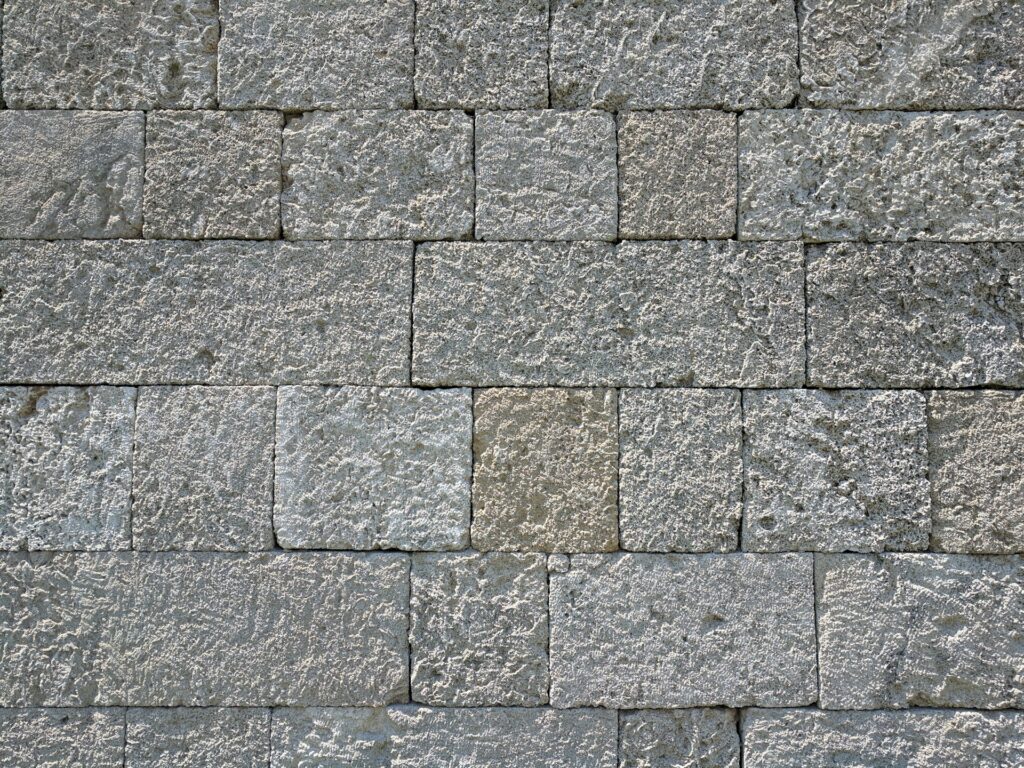
If you’re staring at your home’s exterior or a feature wall inside and thinking, “You know what would look incredible here? Stone,” you’re onto something. Natural stone veneer and natural stone cladding can turn an ordinary space into a conversation starter. But here’s the thing — stone veneer installation isn’t just about slapping some stones on a wall and calling it a day.
Getting those durable stone finishes that make jaws drop and neighbors jealous takes a little planning, the right approach, and a few insider tips. So let’s roll up our sleeves and get into it.
Why Natural Stone Veneer is Worth the Effort
First off, natural stone veneer is pure magic. Real stone veneer has a character you can’t replicate — the handcrafted stone textures, the slight imperfections, the earthy color shifts that bring walls to life. Decorative stone veneer is beautiful too, no doubt, but if you crave authenticity, natural stone cladding is where it’s at.
Plus, let’s be real. Homes with natural stone textures just feel more grounded. More permanent. More “I know what I’m doing” even if, let’s face it, half the time we’re all winging it.
Start With a Solid Surface
Before you even think about pressing that first piece of stone onto a wall, check your surface. Stone veneer needs something sturdy and grippy to hang onto.
Whether it’s cement board, masonry, or prepared wood, your base should be clean, dry, and properly prepped. Trying to stick stone to a crumbling or dirty wall? That’s like trying to glue a bowling ball to a slice of toast. Not gonna work.
Choose the Right Mortar — And Mix It Like You Mean It
Mortar isn’t just a “whatever” detail. It’s the secret handshake that makes natural stone veneer stick around for the long haul.
Use high-quality mortar that’s meant for stone veneer installation. Follow the package instructions, but honestly? It should feel a bit like peanut butter — thick enough to hold a trowel mark, but still workable. If it’s too runny, you’re just asking for trouble. If it’s too stiff, well, good luck getting those stones to bond.
A little pro tip: mix a small batch first and test it. You want just the right balance before you commit to the full wall.
Pay Attention to Layout Before You Start
Picture this: you’re halfway up the wall, feeling good, when you realize you’ve clumped all the bigger pieces together and now it looks… weird.
Take a few minutes — seriously, just a few — to lay out your stones ahead of time. Mix sizes, textures, and colors as you go. Natural stone cladding is all about organic beauty. Forced patterns? Not so much.
Think of it like arranging a puzzle — you want it to look effortless, but that “effortless” look usually takes a little effort behind the scenes.
Use Proper Techniques for a Strong Bond
When it’s time to actually start sticking stones to the wall, butter the back of each piece with mortar and press it firmly into place with a slight wiggle. That wiggle motion helps create suction and a stronger bond.
And don’t skimp on coverage. Make sure there’s mortar across the entire back of the stone, not just little dabs at the corners. Full coverage means a stronger hold and fewer problems later.
Grouting (or Not) Matters
Some styles, like rustic stone veneer, look amazing with wider joints and visible grout. Others lean toward tight, almost dry-stacked looks with barely any gaps.
Either way, if you’re using grout, pack it in there tight. Air pockets are the enemy of durable stone finishes. And if you’re going for a dry-stack look? Get those edges fitted snugly—precision is key.
Let Gravity Help, Not Hurt
Always start stone veneer installation from the bottom and work your way up. Gravity’s already trying to pull everything down; don’t make it easier by starting at the top.
Starting at the bottom also lets lower rows support the weight of the upper ones naturally. It’s simple physics, but it makes a massive difference.
Weather Watch: Timing Is Everything
If you’re installing exterior natural stone veneer, pay attention to the weather. Extreme heat, freezing temps, or heavy rain can mess with curing times and bond strength.
Ideally, you want mild, dry days. And if that’s not possible? Set up some temporary protection with tarps or tents. Your future self will thank you when those durable stone finishes still look perfect years down the road.
Real Stone Veneer: Worth Every Penny and Effort
Natural stone cladding isn’t just about looks. It’s about creating something solid, lasting, and beautiful. Sure, real stone veneer might ask a little more of you during installation—but what it gives back is so worth it.
Imagine driving up to your home every day and feeling that little surge of pride because your house doesn’t just look good. It looks amazing. It looks real.
One Last Thing: Get Help If You Need It
DIY stone veneer installation can be hugely satisfying. But it’s also okay to call in pros if you’re feeling overwhelmed. High-quality stone cladding deserves proper care.
https://canyonstonecanada.com/naturalstones/naturalstone/Natural-Stone-Veneer
https://stoneselex.com/Stone-Veneer-Fireplace/Fireplace-Stone-Facing
https://stoneselex.com/brick-and-stone/natural-stone-exterior-wall-cladding-GTA-0220
Companies like Stone Selex and Canyon Stone Canada specialize in helping homeowners get those show-stopping results. From sourcing the best natural stone textures to expert advice on installation, they’ve got your back — and your walls.